
Transtibial Prosthetic Gait Training in Elderly Diabetics with Sensory Neuropathy
In short
Prosthetic gait rehabilitation after diabetic amputation demands rigorous protection of the remaining limb. Discover structured training protocols that restore safe, independent walking.
In this guide (6 sections)
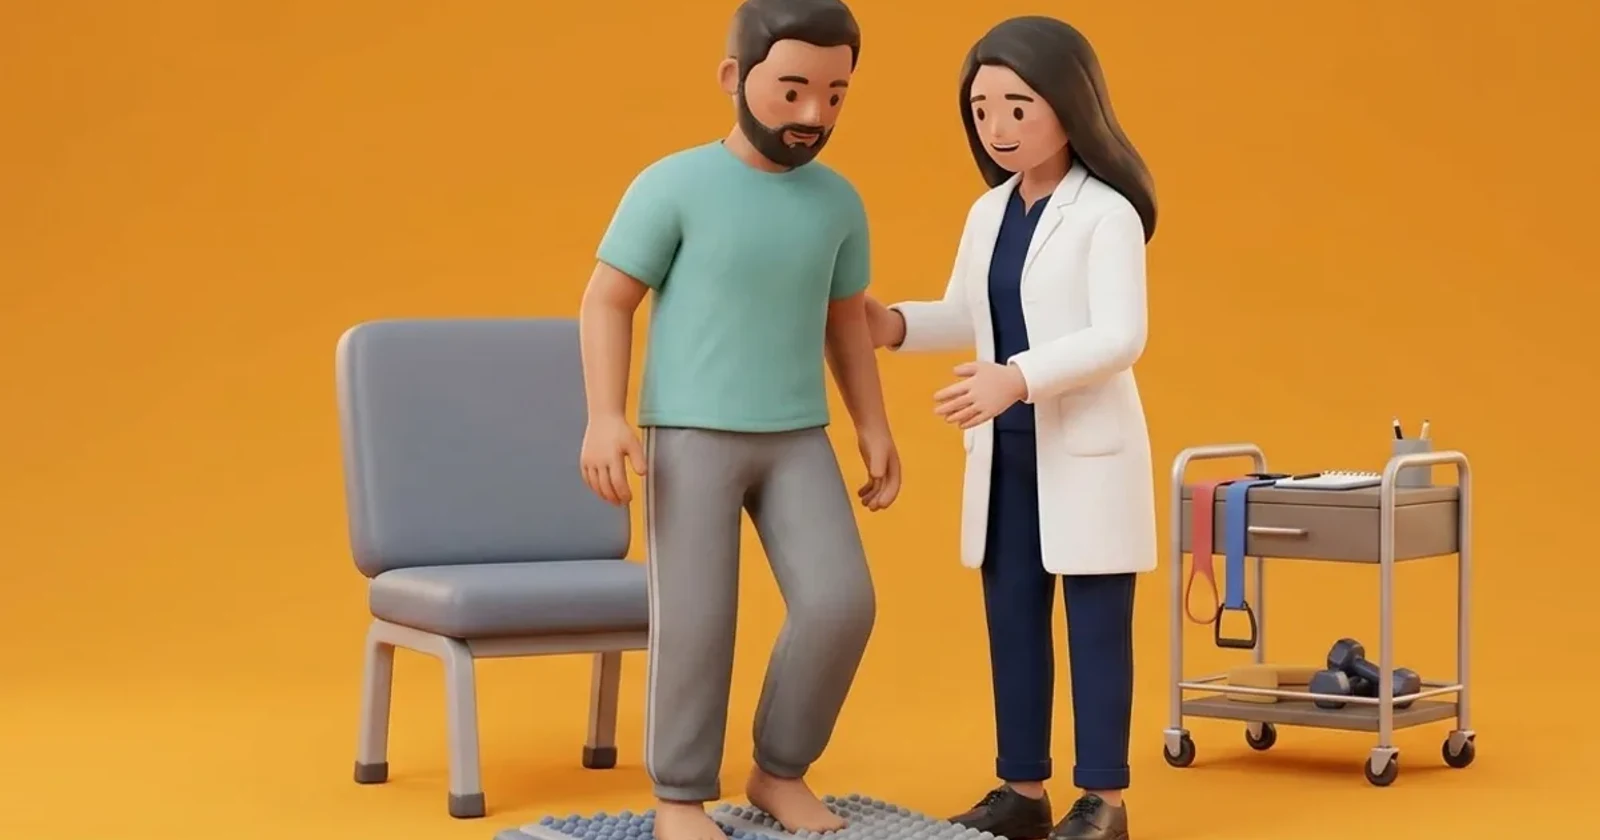
Prosthetic gait training for elderly diabetic individuals following a transtibial amputation presents unique clinical considerations. Unlike young traumatic amputees, older diabetic patients frequently have systemic microvascular and macrovascular disease, impaired vision from diabetic retinopathy, vestibular deficits, and severe peripheral neuropathy in the remaining sound limb. During gait training, the sound limb is subjected to massive compensatory mechanical overload, increasing the risk of secondary ulceration and amputation on the contralateral side. Structured prosthetic rehabilitation focuses on symmetrical weight distribution, sound-limb offloading, parallel bar stepping progression, and skin tolerance monitoring to achieve independent community mobility safely.
Domestic and Cultural Indian Realities
In Indian domestic environments, returning home with a prosthetic limb requires careful physical preparation. Most Indian homes have smooth, polished tile or marble floors that become dangerously slick when wet. Traditional low furniture, floor seating, and squat commodes must be completely re-evaluated. Attempting to manage a squat toilet with a prosthetic limb is hazardous and should be replaced by a raised commode chair with bilateral grab rails. In many families, older amputees are tempted to take off the prosthesis and hop on their single sound foot to visit the bathroom at night. Hopping places crushing shock loads on the insensate sole of the sound foot, frequently causing a breakdown of the metatarsal fat pad within weeks. Patients must always use a wheelchair or walking frame rather than hopping.
Clinical Biomechanics and Neuropathic Breakdown
Walking with a transtibial prosthesis requires transmitting body weight through tolerant anatomical areas (such as the patellar tendon, medial tibial flare, and shaft of the fibula) while completely unloading pressure-intolerant zones (the distal tibial cut end, fibular head, and tibial crest). In elderly patients with autonomic neuropathy, the skin of the residual limb lacks normal sweat regulation and shear tolerance, making it vulnerable to friction blisters inside the socket. Furthermore, lack of proprioception in both the prosthetic limb and the neuropathic sound limb impairs dynamic balance. Gait training utilizes visual biofeedback (standing in front of a full-length mirror) to help the patient verify symmetrical step length and balanced weight transfer.
Clinical Assessment and Neuropathy Screening
Assessment begins with inspecting the residual limb before and after donning the prosthesis, checking for localized erythema. Redness that persists for longer than 15 to 20 minutes after doffing indicates excessive focal pressure requiring socket adjustment. The sound foot is evaluated thoroughly using 10g monofilaments and visual inspection for calluses, blisters, or fissures. Core stability, hip abductor strength (gluteus medius), and standing balance are evaluated in parallel bars before initiating stepping drills.
Targeted Offloading and Intrinsic Foot Conditioning
Rehabilitation follows a strict progressive timeline, beginning inside parallel bars with bilateral weight-shifting drills and stepping practice. As confidence improves, training advances to walking with a wheeled walker, progressing to bilateral elbow crutches or a quad cane. The sound limb must always be protected with a custom MCR prescription shoe and a smooth cotton sock without internal seams. A progressive donning schedule is enforced, starting with 30 minutes of wear on day one and increasing gradually as skin tolerance is confirmed.
Supported Parallel Bar Lateral Weight-Shifting Drill
Objective: Develop weight-bearing trust and balance on the prosthetic limb while safely supported
- 1Stand tall between parallel bars or holding onto a heavy, stable countertop with both hands.
- 2Position feet shoulder-width apart, distributing weight equally between both limbs.
- 3Slowly shift your body weight laterally onto the prosthetic limb, maintaining knee extension.
- 4Feel the socket bear your weight comfortably through the patellar tendon.
- 5Hold the weight on the prosthetic side for 5 seconds while breathing calmly.
- 6Smoothly shift your weight back to the centre, then onto the sound limb for 5 seconds.
| Anatomical Residual Limb Zone | Socket Pressure Tolerance | Clinical Monitoring Rule |
|---|---|---|
| Patellar Tendon / Medial Tibial Flare | Tolerant; designed to bear major vertical weight | Even pink flush expected; must fade within 15 minutes of doffing |
| Anterior Distal Tibial Cut End | Completely intolerant; zero pressure permissible | Any redness or pain requires immediate socket relief carving |
| Fibular Head / Peroneal Nerve | Intolerant; vulnerable to compressive nerve palsy | Must be fully relieved in socket to prevent foot drop / numbness |
| Contralateral Sound Foot Sole | High-risk insensate limb bearing compensatory overload | Daily mirror inspection; mandatory custom MCR insole in sound shoe |
Red Flags and Urgent Diabetic Foot Escalation
Immediate clinical review is necessary if the patient discovers a skin abrasion, blister, or open ulcer on either the residual limb or the sound foot. Wearing the prosthesis must stop immediately if there is skin breakdown, as continuing to walk will cause deep tissue necrosis. Spreading warmth, purulent drainage, or systemic chills demands emergency medical evaluation.
Frequently Asked Questions
Why is hopping on my good leg so dangerous after a below-knee amputation?
Hopping places your entire body weight with high impact onto your remaining foot. In diabetes, that remaining foot already has nerve damage and reduced blood flow. Hopping rapidly crushes the fat pad, fractures metatarsal bones, and causes deep ulcers that can lead to an amputation of your second leg. Always use your walker or wheelchair for transfers.
How do I know if my prosthetic socket is fitting properly?
A well-fitting socket feels snug and comfortable without localized pinching. When you take the prosthesis off, your skin should show a uniform, light pink colour over the patellar tendon and calf that disappears within 15 to 20 minutes. If you see dark red spots, purple marks, or blisters over bony points, the socket must be adjusted.
Related recovery guides & articles
BookPhysio.in Editorial Team
The BookPhysio.in editorial team writes and maintains this content, checking it against reliable clinical sources. Content follows our medical review policy: general information only, and no page claims a clinical review until a named registered physiotherapist has signed it off.
Read our medical review policy